

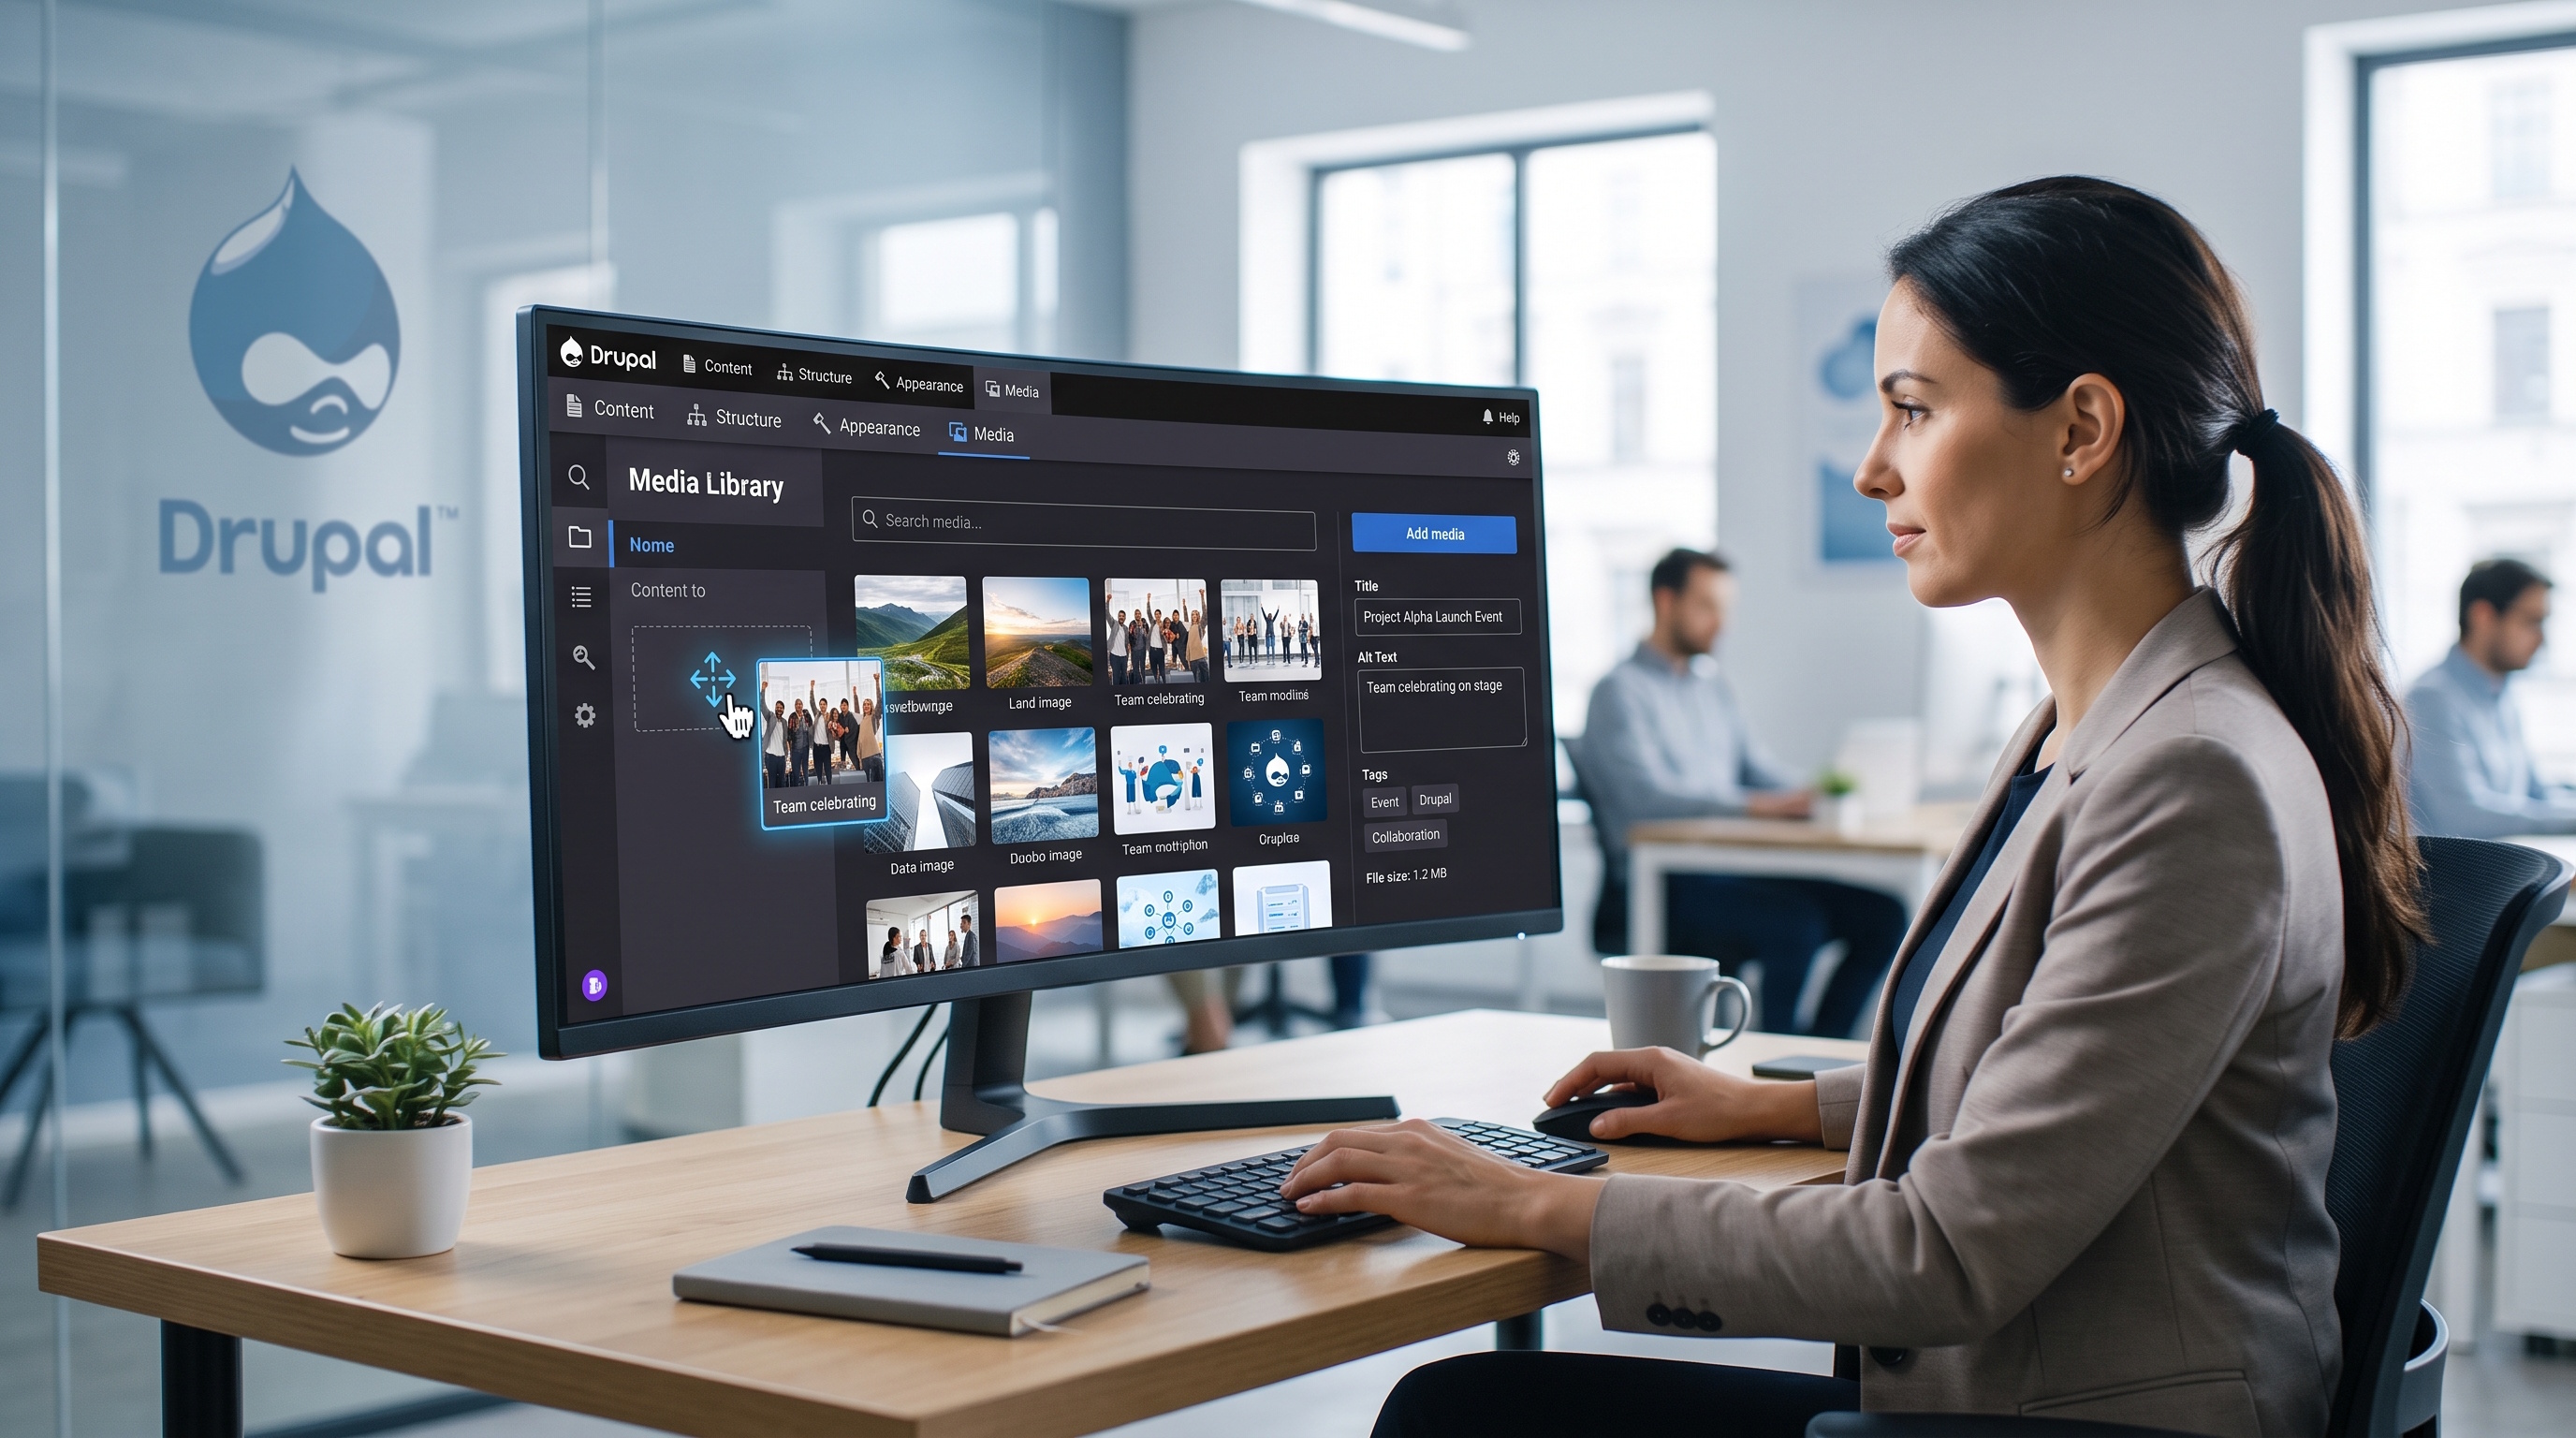
Drupal’s Media Library is a flexible tool that makes managing assets easier and site performance better. If you understand the basics and stick to a clean setup, you can build a reliable system for your team. Because it is modular, you can always expand it as your needs grow, whether that is through custom plugins or new automated workflows.
Introduction
Drupal’s Media Library is the go-to spot for managing site assets. It gives editors a single place to upload, find, and reuse images or videos. When it is set up right, you avoid messy file duplicates, speed up your work, and keep your branding consistent across every page. This guide covers how to set it up, manage your assets efficiently, and keep things fast even on busy sites.
Understanding the Media Library Core Concepts
Before you start clicking buttons, you should know the basic parts that make the library work.
- Media entities: These are the individual items, like a specific photo or a PDF. They hold the actual file and its info, like who owns it or what the alt text is.
- Media types: Think of these as categories. An "Image" type might need alt text, while a "Document" type might need a file description.
- Usage tracking: Drupal keeps a list of every page or block using an asset. This makes it easy to see if a file is safe to delete.
- Source plugins: These handle where the files live, whether that is on your own server or a cloud service like Amazon S3.
- The Library UI: This is the pop-up window where you search for media, upload new files, and drop them into your content.
Learning these basics helps you build a system that actually makes life easier for your editors.
Setting Up the Media Library
Installing Required Modules
1. Enable the core Media module.
2. Enable Media Library to expose the UI.
3. (Optional) Install Media Entity Browser if you need a more customizable selection experience.
4. Install any storage adapters required for your environment, such as S3 File System for cloud storage.
You can turn these on through the Drupal interface or use Drush if you prefer the command line:
```bash
drush en media media_library -y
```
Configuring Media Types
Setting your media types up correctly now saves you from a lot of manual work later.
- Navigate to Structure → Media types.
- Create a new media type for each asset category (e.g., Image, Video, Document).
- Add fields that capture essential metadata:
- Alt text (required for images)
- Caption (optional)
- License or copyright information
- Taxonomy reference for asset categorization
- Pick a default display that shows a clear thumbnail so editors know what they are looking at.
Permissions and Roles
You don’t want everyone to have the power to delete everything. Set up your roles like this:
- Admin: They can do it all.
- Editor: They can add and edit media, but they can't delete things that are already live.
- Contributor: They can only upload new files, maybe just for one specific category.
Always test these permissions with a dummy account to make sure the workflow actually works for your team.
Managing Assets Efficiently
If you don't stay organized, your library will turn into a junk drawer. Here is how to keep it clean.
- Use clear names: Skip names like "IMG_123.jpg." Use something descriptive like "2024-logo-header.png."
- Fill out the info: Always add alt text and tags when you upload. It is much harder to go back and do it later, and it’s essential for SEO and accessibility.
- Batch your work: Use bulk actions to delete old files or update tags all at once.
- Update, don't replace: When an image changes, create a new version of the existing media item. This keeps your usage history intact.
- Clean house: Every few months, look for "orphaned" media that isn't being used anywhere and get rid of it.
Real‑World Use Cases
The library fits into almost any project.
- Brand assets: Keep all your logos and approved photos in one spot so everyone uses the right version.
- Global sites: Tag media by language so your French site doesn't accidentally use an English graphic.
- Learning hubs: Organise videos and PDFs that need to be embedded across different courses.
- Online stores: Use one product image across your catalog, your blog, and your homepage banners without uploading it four times.
No matter the project, the goal is the same: one source of truth for all your files.
Performance and Scalability Considerations
If you have thousands of files and heavy traffic, you need to keep things lean.
- Lazy loading: Set your thumbnails to generate only when someone actually looks at them.
- Cloud storage: Move big videos or high-res photos to a CDN to keep your server from slowing down.
- Smart caching: Tell browsers to "remember" your media files so they don't have to download them every single time.
- Database indexes: Make sure your most-used search terms are indexed so your library filters stay snappy.
- Background tasks: Use the Queue API for heavy jobs like resizing hundreds of images at once.
With these steps, the library stays fast even as your asset count grows.
Extending the Media Library with Custom Solutions
You aren't stuck with just the default settings. You can customize the library to do exactly what you need.
- Custom sources: You can build a plugin to pull assets from an external digital asset manager (DAM).
- Better interfaces: Replace the standard window with a faster interface that supports things like infinite scrolling.
- Auto-tagging: Use a script to scan PDFs and automatically save the text inside as searchable info.
- Approval loops: Connect media to your moderation workflow so a manager has to approve a photo before it can be used.
These custom tweaks keep the experience simple for users while handling complex tasks in the background.
Conclusion
Drupal’s Media Library is a flexible tool that makes managing assets easier and site performance better. If you understand the basics and stick to a clean setup, you can build a reliable system for your team. Because it is modular, you can always expand it as your needs grow, whether that is through custom plugins or new automated workflows.